Build your first course
About ten minutes. A course is a title, some units, and lessons inside them. You can start with one of each and add the rest later. Nothing is visible to learners until you publish it.
Before you start
- You need to be signed in to the creator studio as a member of an organisation — see Set up your organisation.
- Already have this course in Canvas, Blackboard, Brightspace, Schoology or Moodle? You can import it instead of retyping it — see Import and export courses.
1. Create the course
-
On My Courses, press New Course.
-
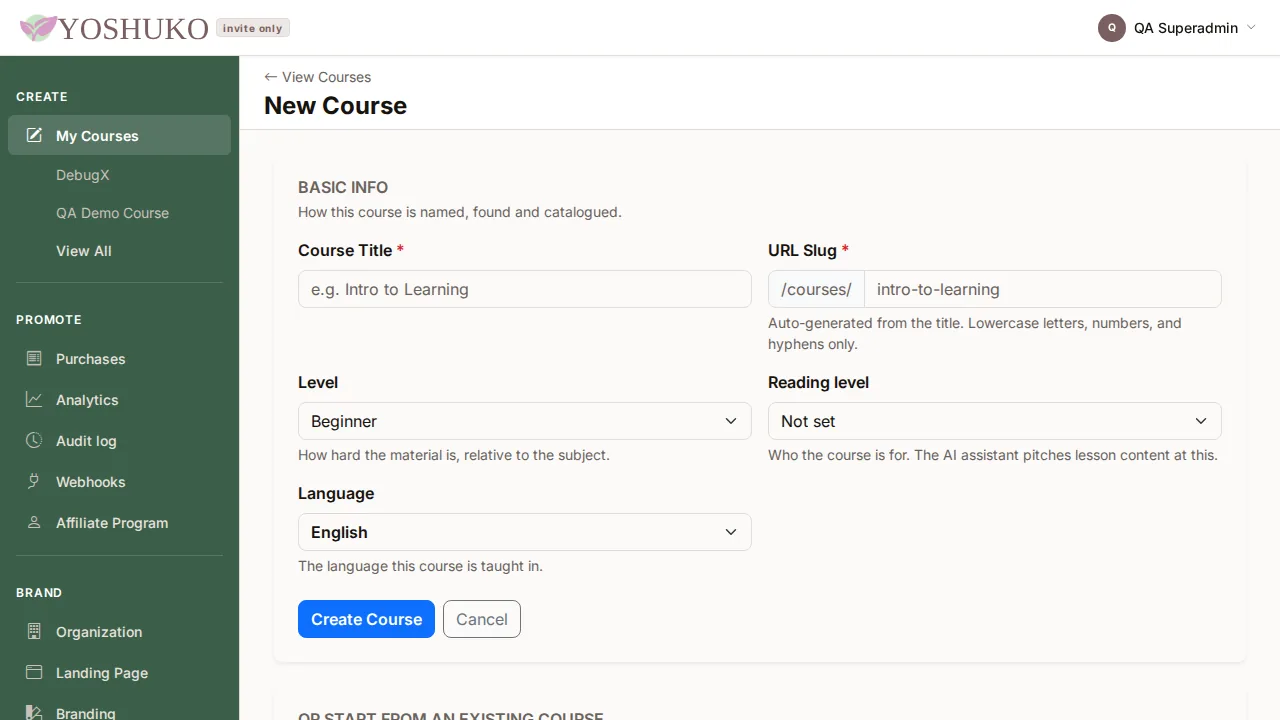
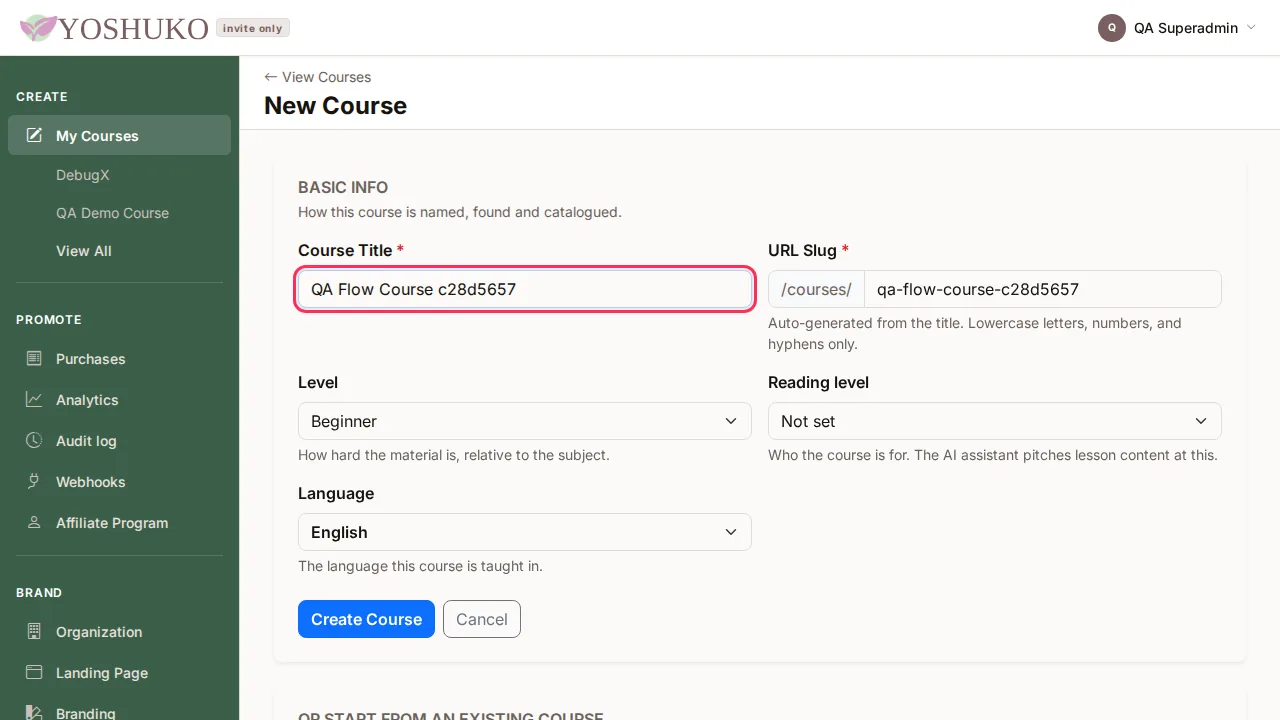
Type a Course Title. The URL Slug fills itself in from the title; it may contain only lowercase letters, numbers and hyphens.
-
Optionally choose a Level (Beginner, Intermediate or Advanced), a Reading level, and the Language the course is taught in. The AI assistant pitches lesson content at the reading level you choose.
-
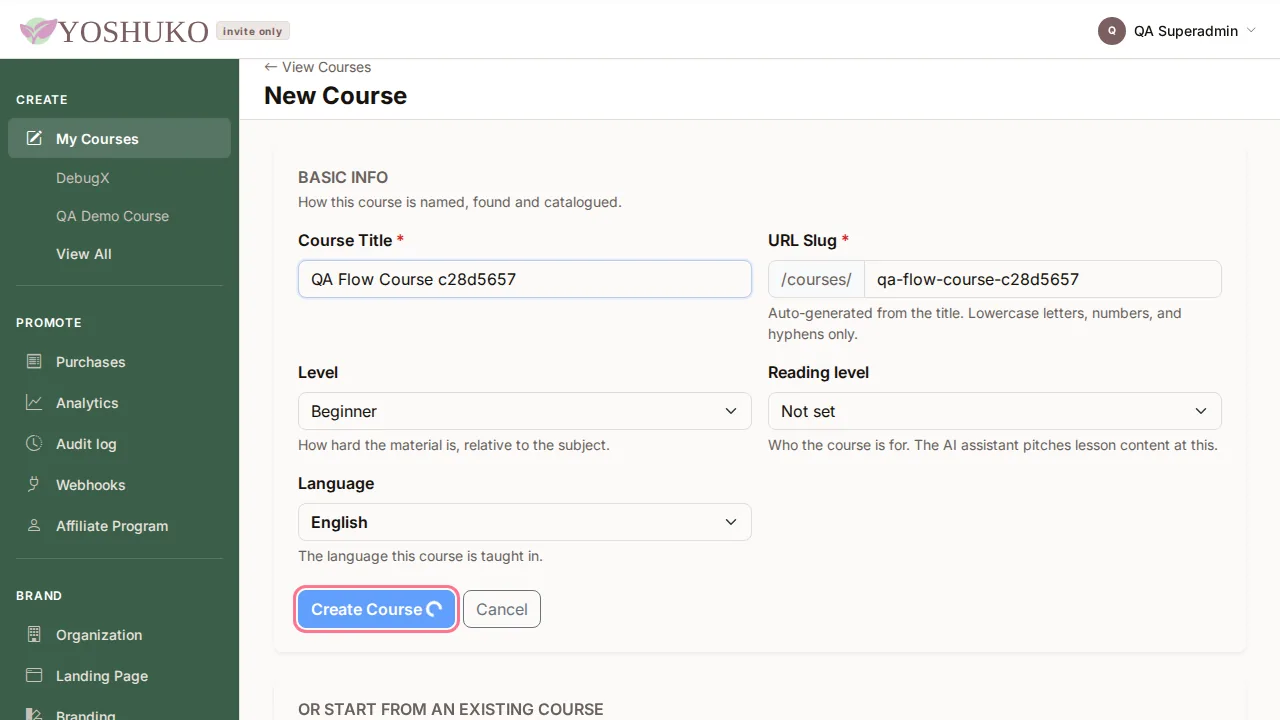
Press Create Course. The course's Curriculum opens.
A new course starts as a Draft — only you and your team can see it.
2. Add a unit
-
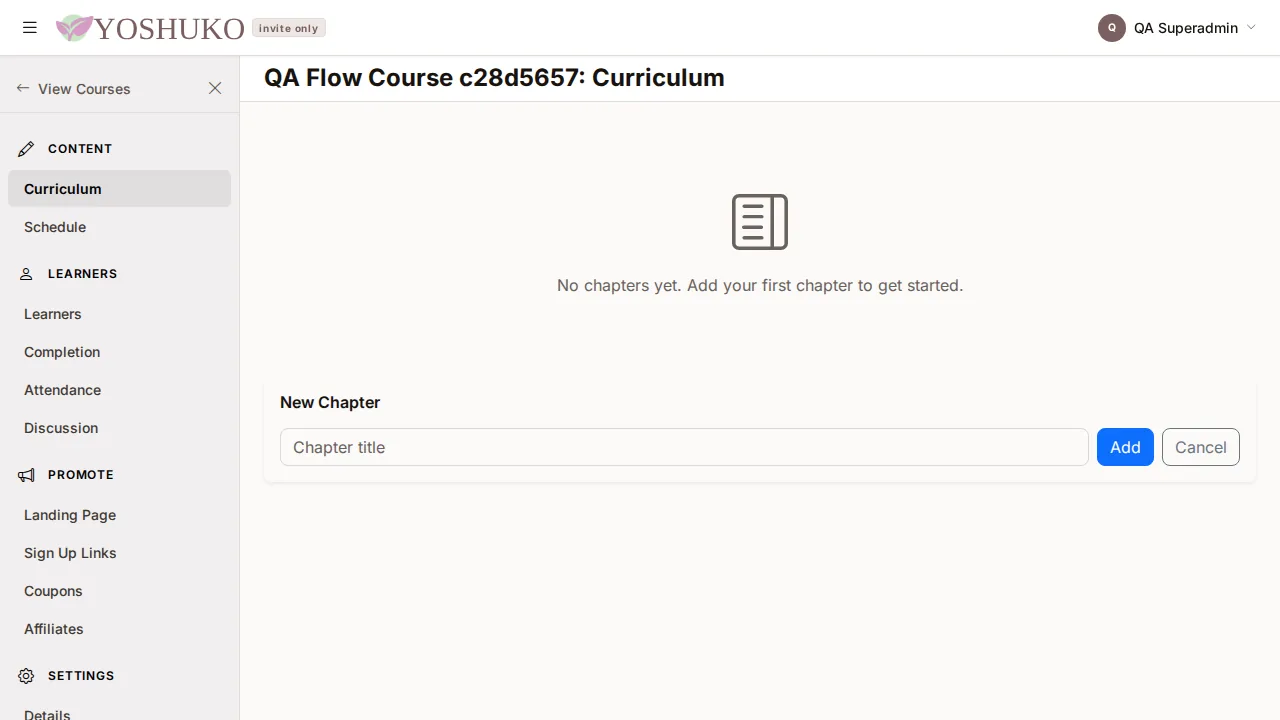
On the Curriculum screen, press Add unit.
-
Type a Unit title and press Add. (Press Cancel to back out.)
3. Add a lesson
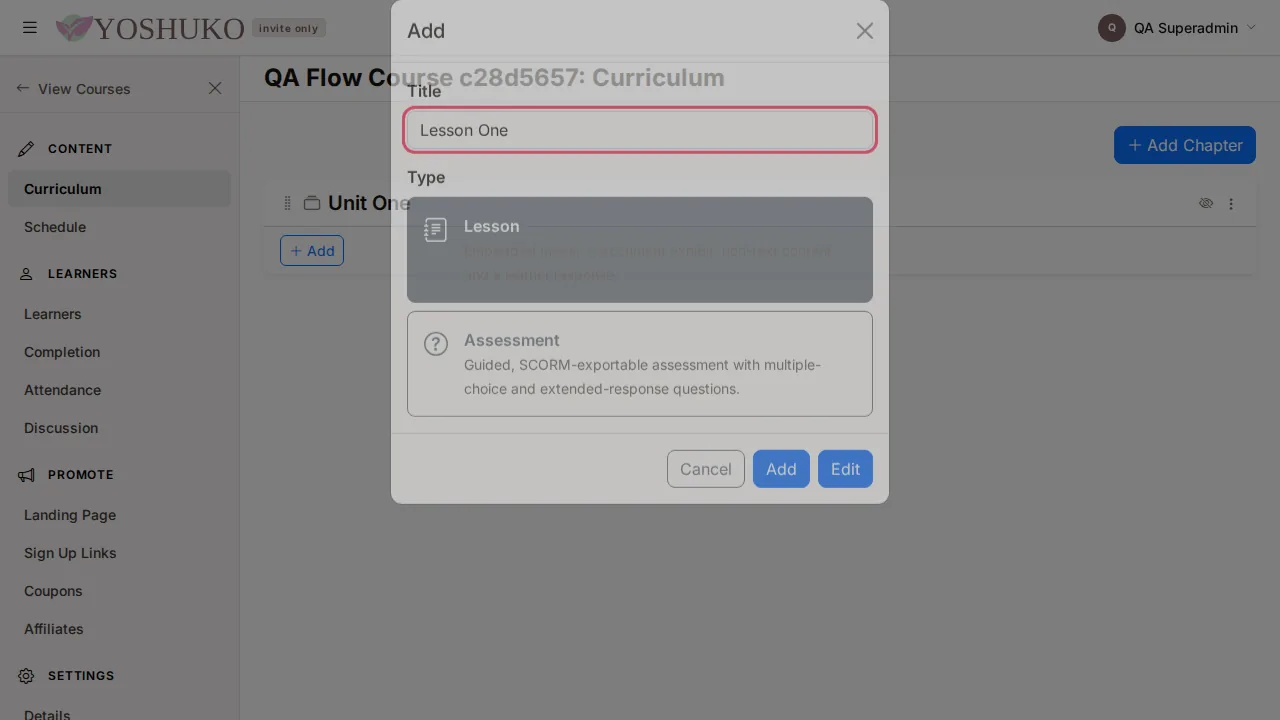
- Under the unit, press Add.
-
Give the lesson a Title, and choose its Type:
- Lesson — embedded media, a document, rich-text content and a learner response.
- Assessment — a guided assessment with multiple-choice and extended-response questions.
-
Press Add.
To write the lesson's content, open it from the curriculum — see Lessons and media and, for assessments, Quizzes and assessments.
4. Publish the unit
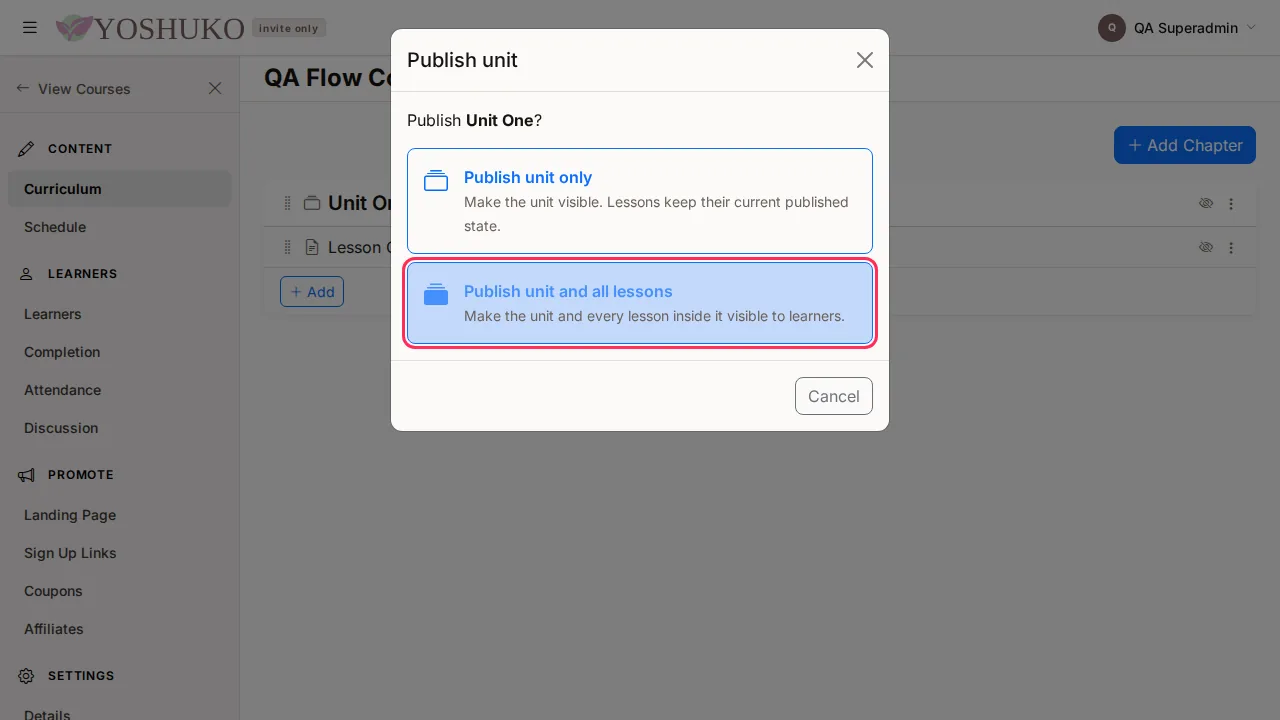
A unit and its lessons stay drafts until you publish them. On the unit's row, press the eye icon (or open the row's actions menu and choose Publish unit). Then choose one of:
- Publish unit and all lessons — the unit and every lesson inside it become visible to learners. This is the usual choice for a new course.
- Publish unit only — the unit becomes visible, and each lesson keeps its current state, so you can publish lessons one at a time.
5. Publish the course
The course itself also has to be published before learners can enrol.
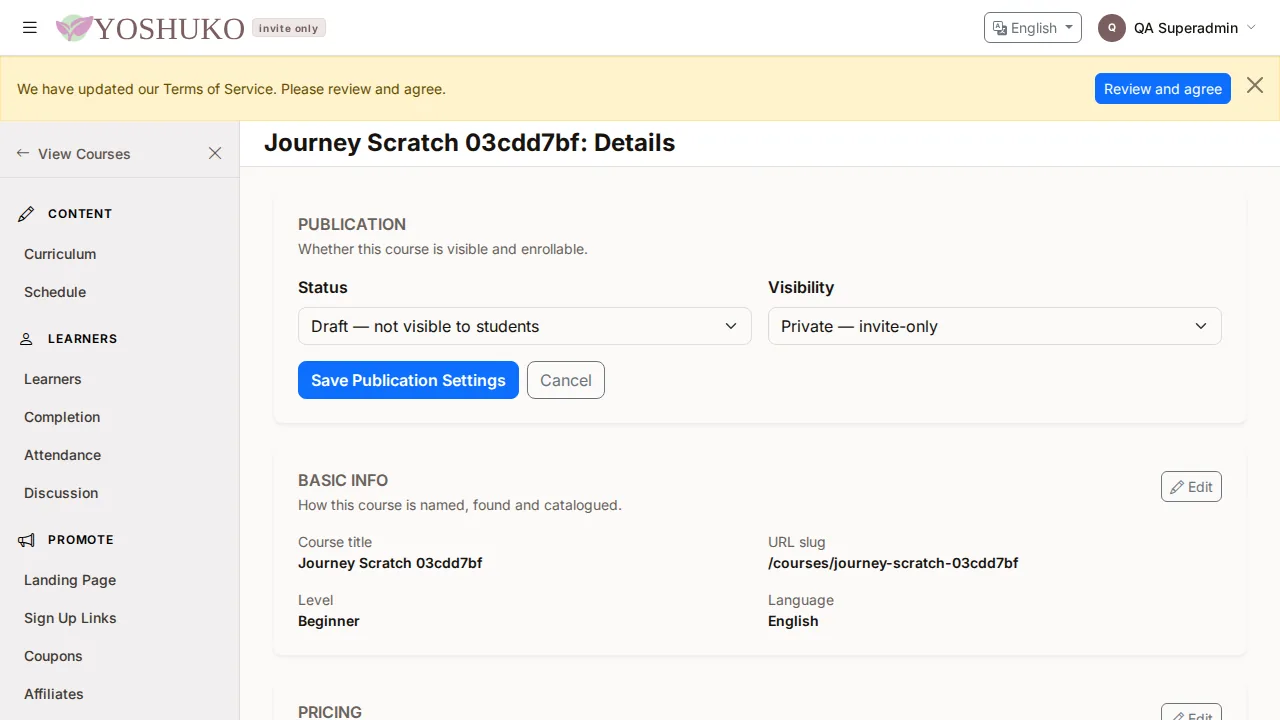
- Open Details from the course menu, under Settings.
-
In the Publication section, press Edit.
-
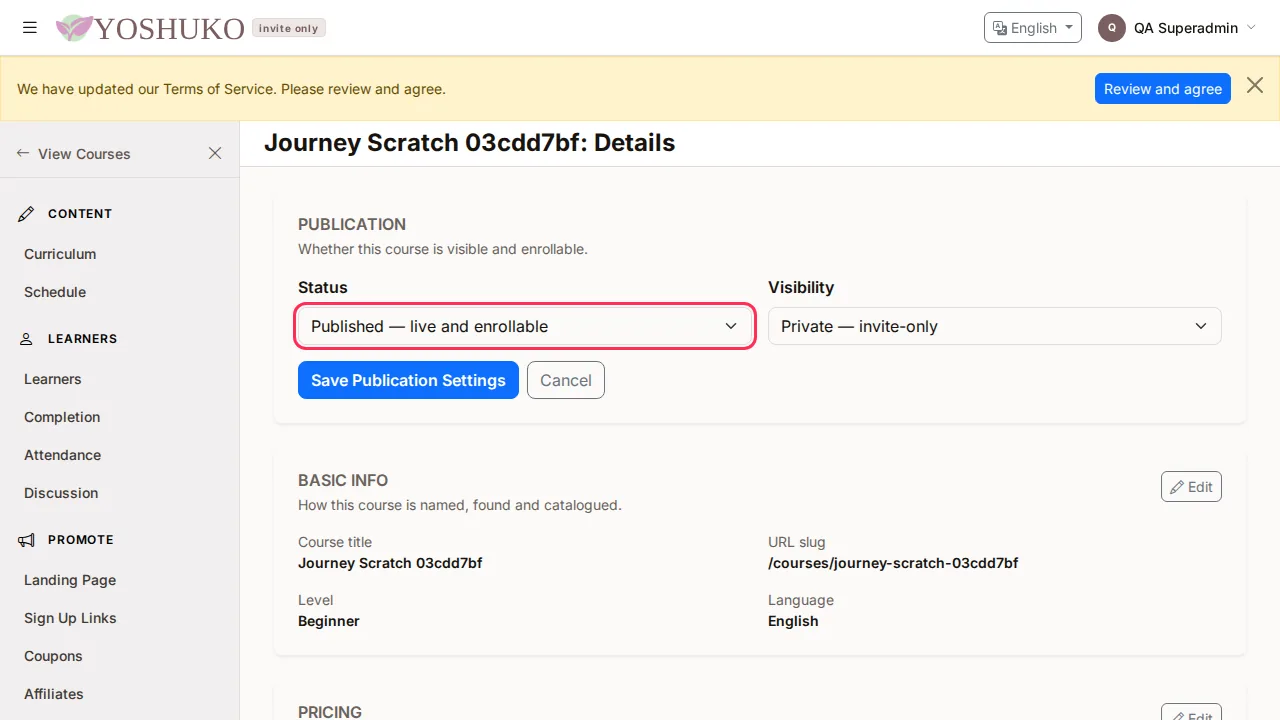
Set Status to Published — live and enrollable.
-
Choose a Visibility:
Option Who can find it Public — listed in marketplace anyone who visits Unlisted — accessible via direct link only people you send the link to Private — invite-only only learners you invite -
Press Save Publication Settings. You will see Saved.
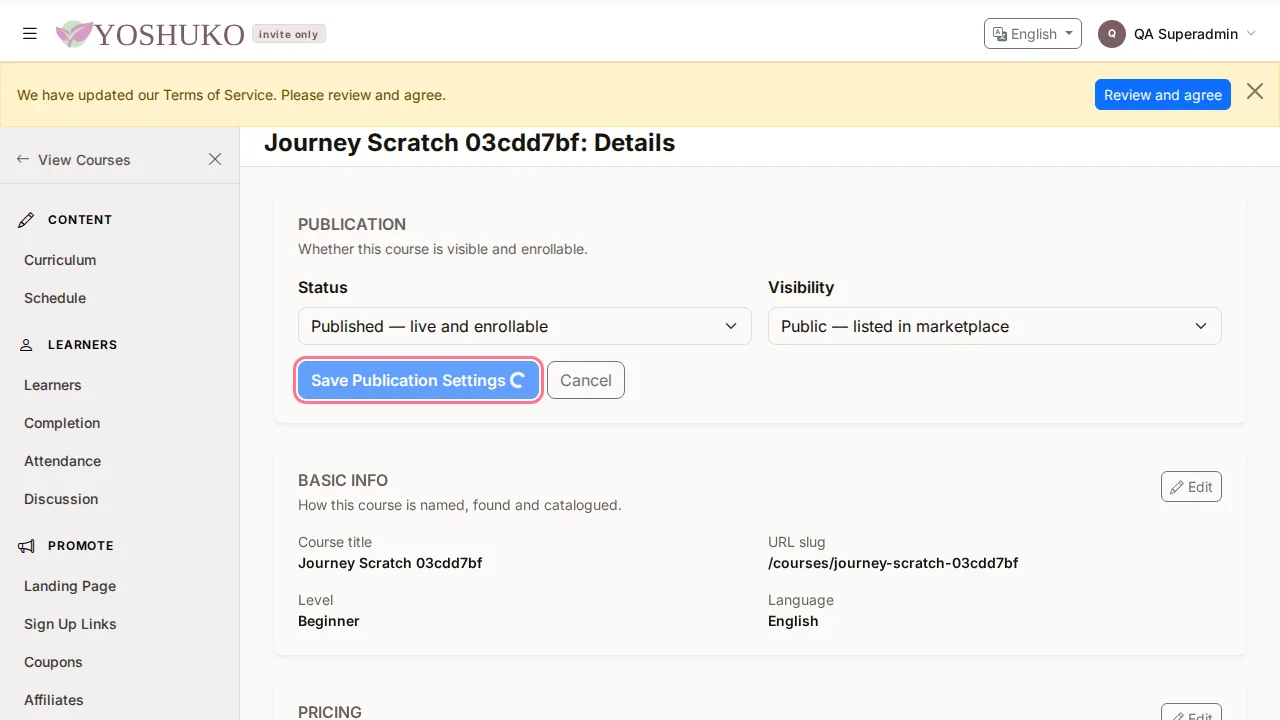
Your course is live. The other statuses are Draft — not visible to students and Archived — hidden from new students.
Automate this
An API key with Edit on Courses, Units (API: chapters) and Lessons can create and change courses, units and lessons. See Build a course with the API.
If something goes wrong
| You see | What it means | What to do |
|---|---|---|
| The course does not appear to learners | The course, its unit or its lessons are still drafts | Check the course Status is Published and the unit and lessons are published |
| A lesson is missing from a published unit | You chose Publish unit only | Publish the lesson from its row |
Related
- Next: Get an API key — optional
- Organise a course — reorder, move and duplicate
- Your course listing — description, image and price
- Enrol learners