Your course listing
Your course's landing page is what a prospective learner reads before they enrol: a title, a one-line tagline, a description, a list of outcomes and a hero image. You can write it yourself or ask for a draft, and it takes about ten minutes.
Before you start
- You need to be a creator in the organisation that owns the course.
- The course needs at least a title. The public page is only visible once the course is published and public.
- To charge for a course, your organisation needs Stripe Connect set up — see Payments, plans and coupons.
Open the landing page editor
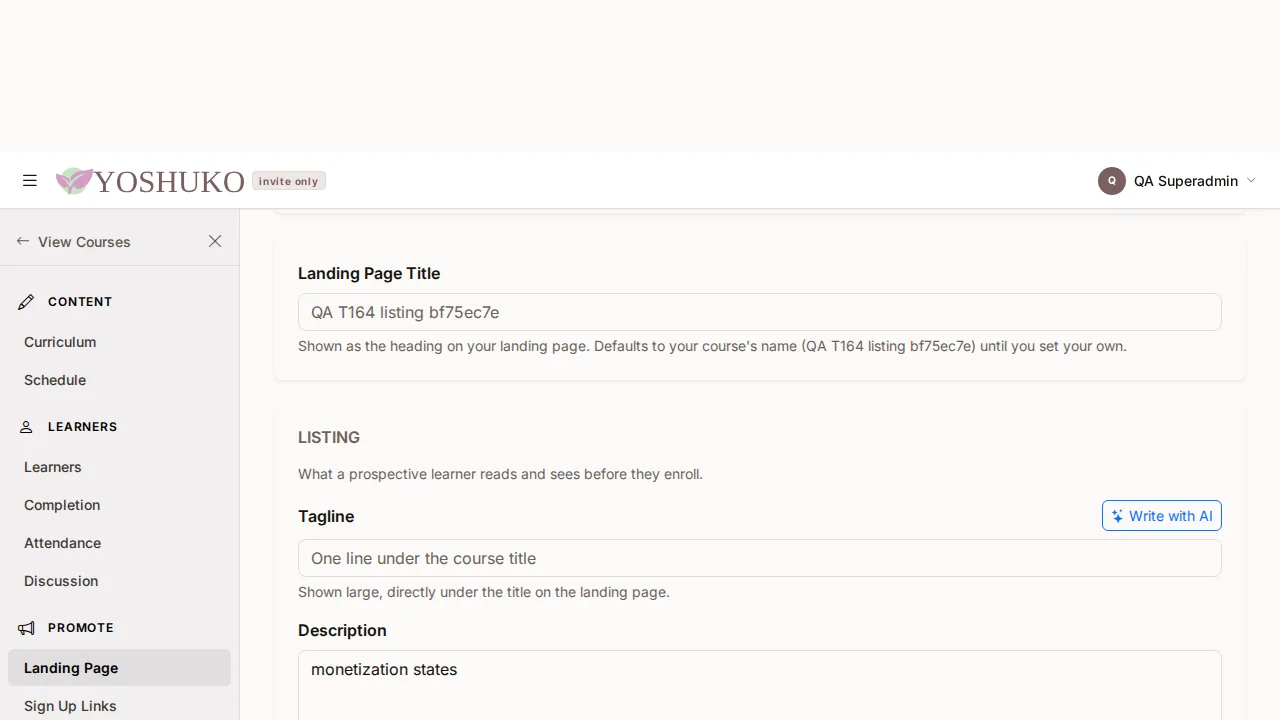
Open the course in the creator studio. In the course menu, under Promote, choose Landing Page. The page has three cards: Hero image, Landing Page Title and Listing.
Write the listing in your own words
- Landing Page Title — the heading on your landing page. Leave it empty to use the course's own name; setting it here does not rename the course anywhere else.
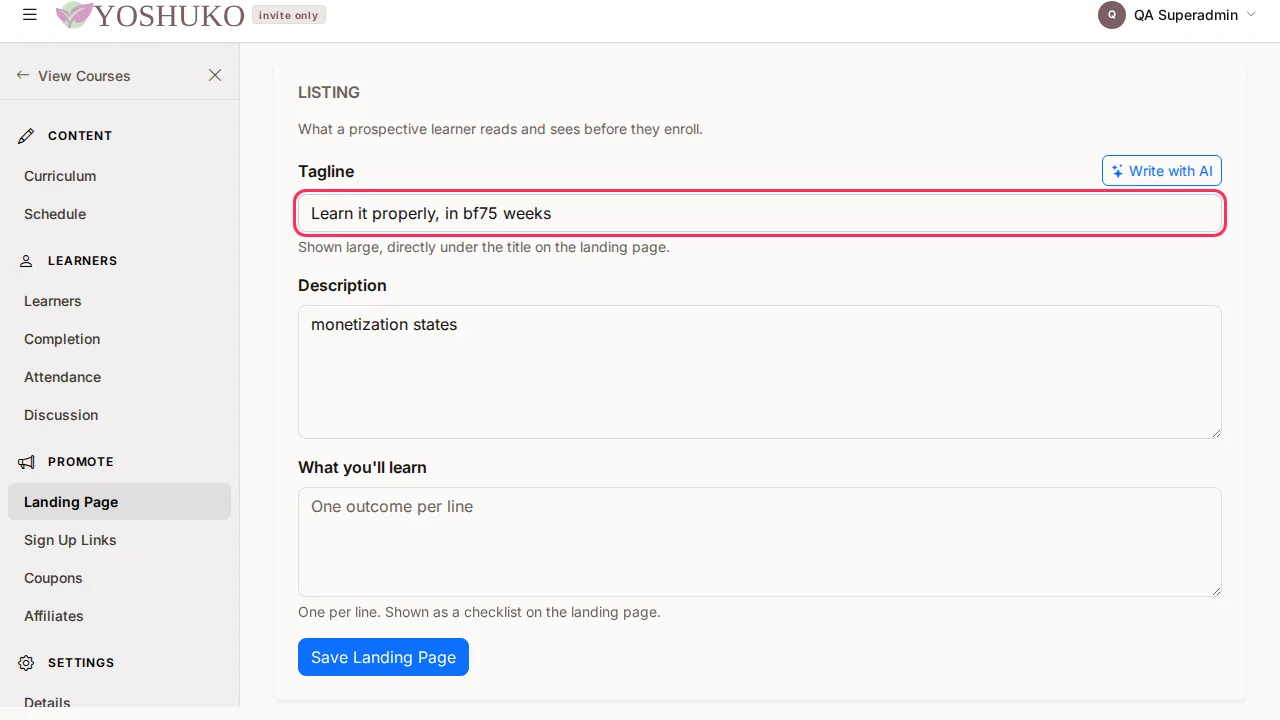
- Tagline — one line, up to 140 characters, shown large directly under the title.
- Description — what students will learn in this course.
- What you'll learn — one outcome per line. Each line becomes an item in a checklist on the landing page.
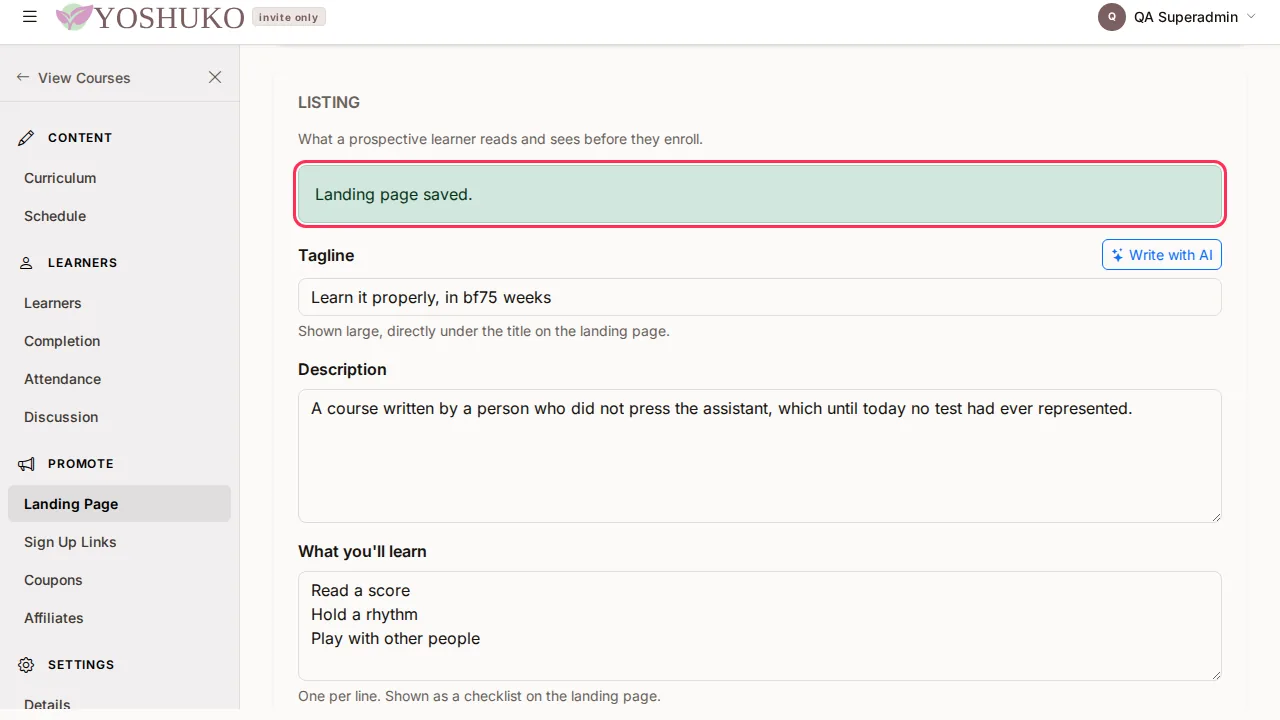
- Press Save Landing Page. You see Landing page saved.
Ask for a draft instead
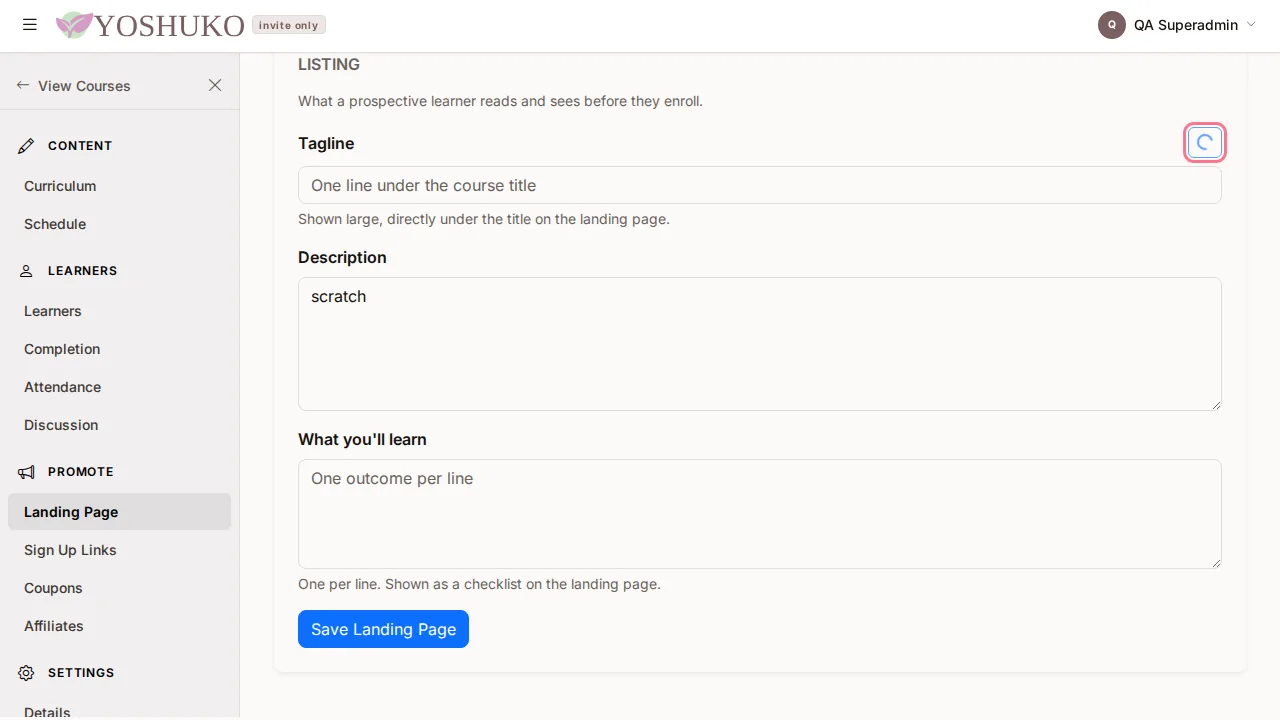
Press Write with AI next to Tagline. It fills in the tagline, the description and the outcome list together, and tells you Draft written into the form — press Save Landing Page to keep it. Nothing is saved until you press Save Landing Page, so you can edit the draft first, or reload the page to throw it away.
Add a hero image
The hero image is the full-width picture behind your course title, and the picture people see when your course link is shared. The Hero image card has three tabs:
| Tab | What it does |
|---|---|
| View | Shows the image in use (This is live on your landing page.), or No hero image yet — your landing page will use a plain background. |
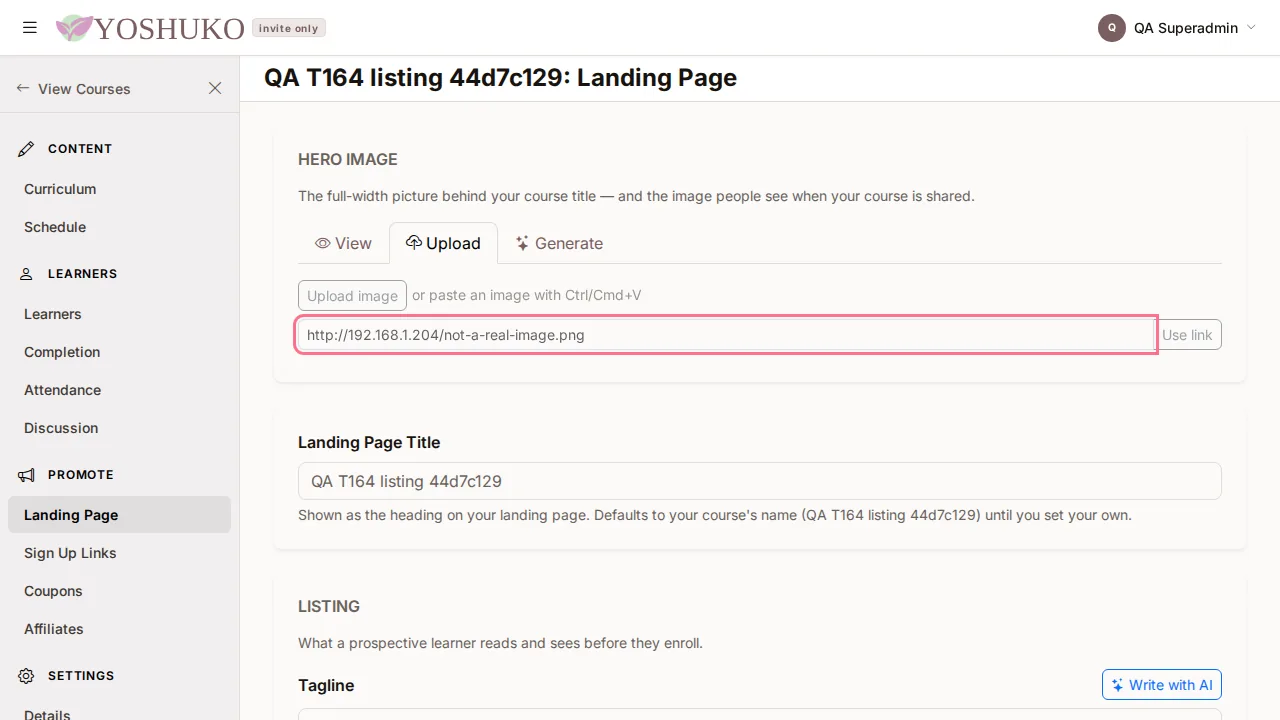
| Upload | Upload image from your computer, paste an image with Ctrl/Cmd+V, or paste a link into Paste an image link and press Use link. |
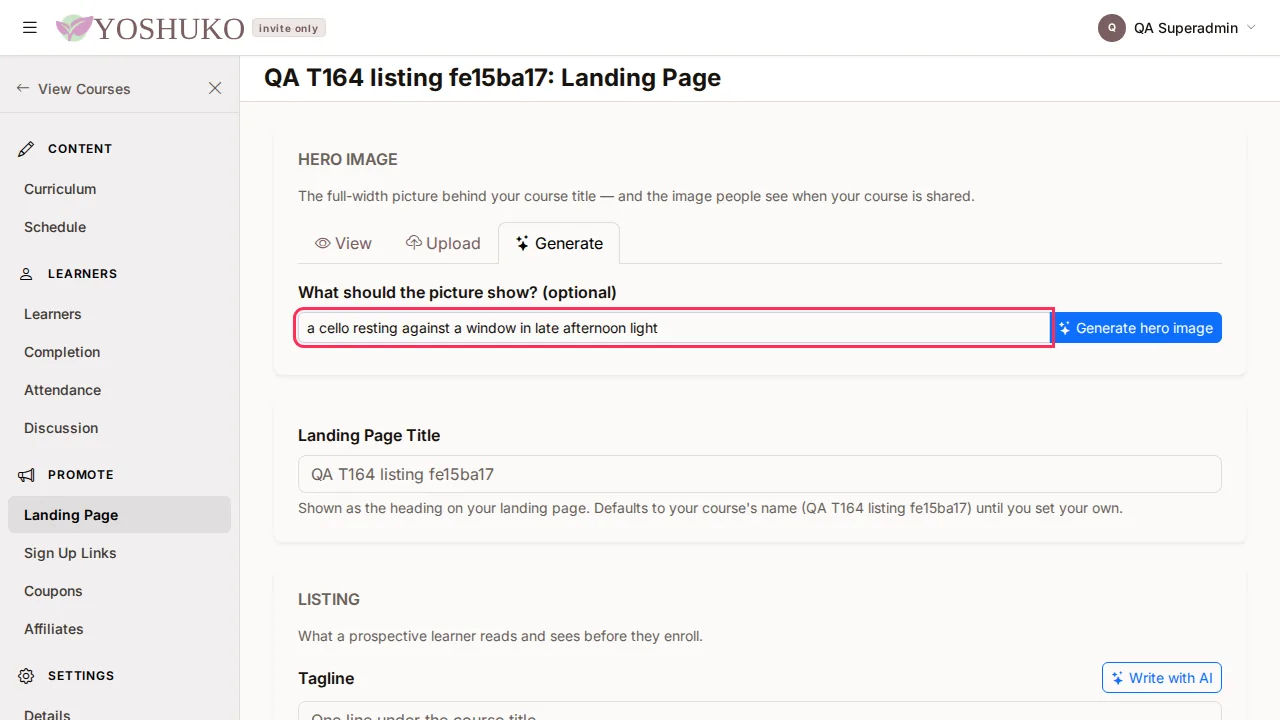
| Generate | Describe the picture and have it made for you. |
Generate one
- Choose the Generate tab.
- Optionally, describe it in What should the picture show? (optional).
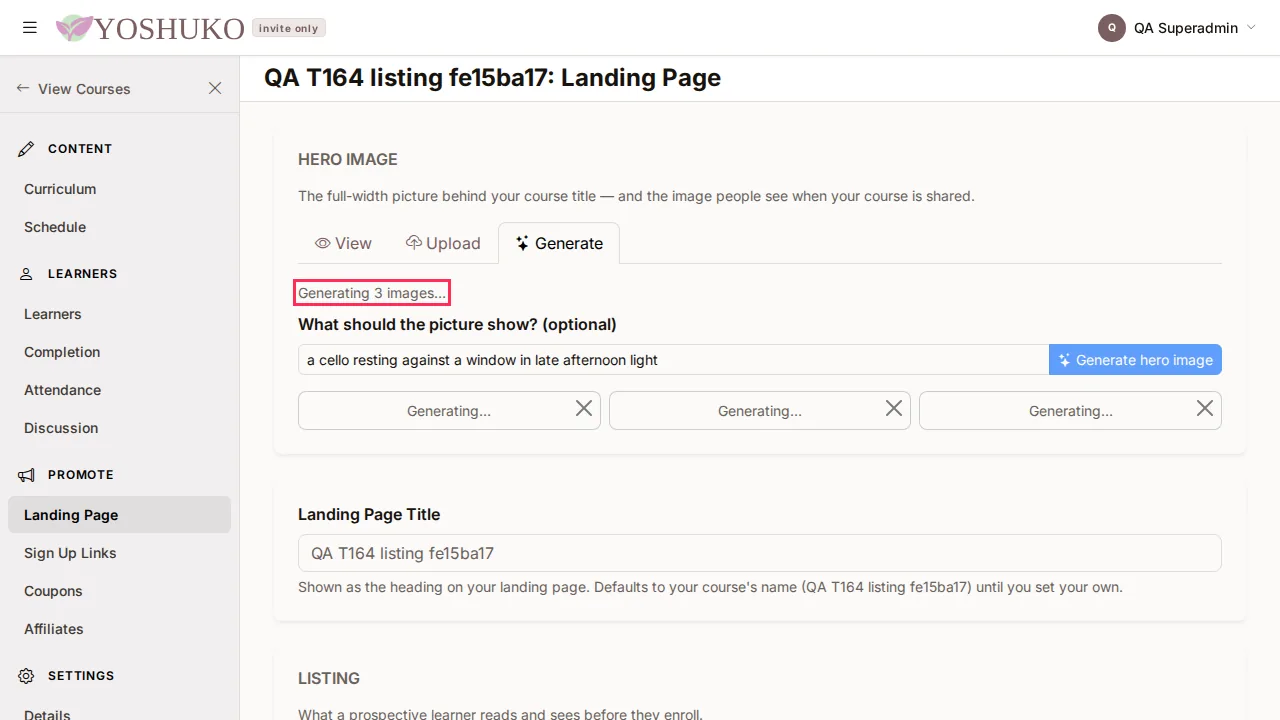
- Press Generate hero image. While it works you see how many images are being made — for example Generating 1 image….
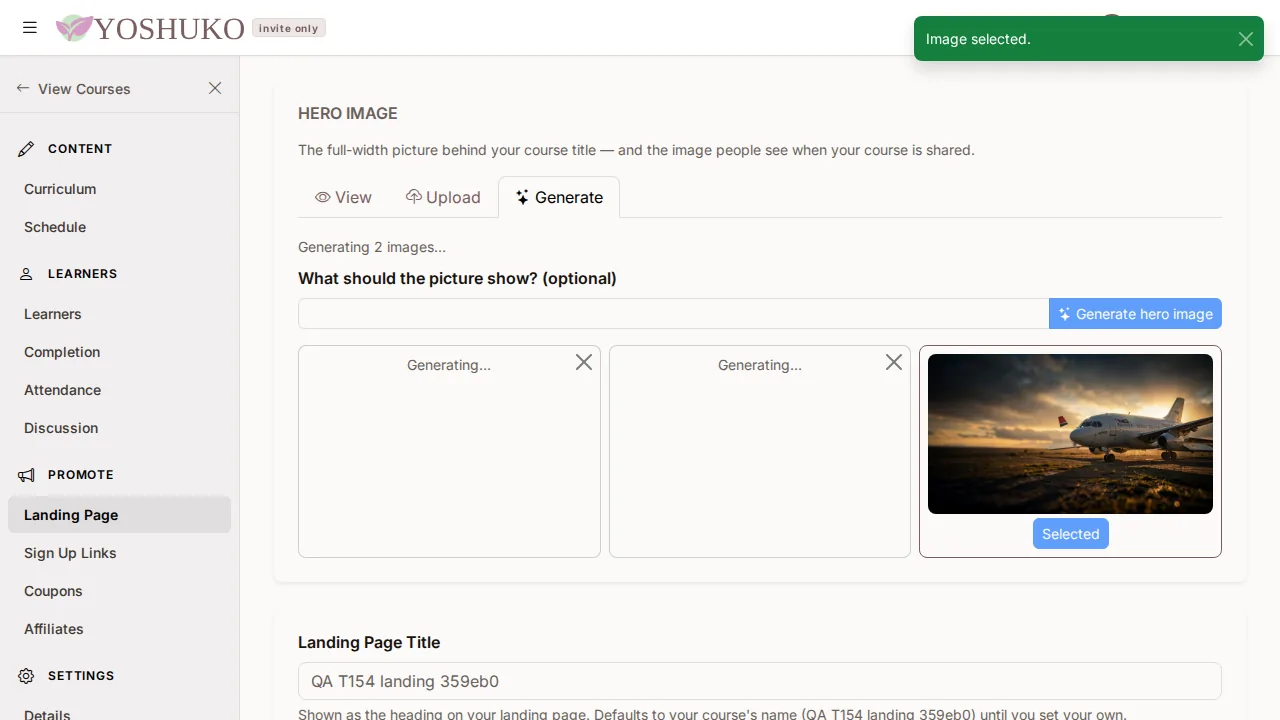
- When the candidates appear, press Use this one under the picture you want. It is marked Selected and becomes the image on your landing page and its share card.
- Choose the View tab to see the image now in use.
Use a picture from a link
When you paste a link, Yoshuko downloads a copy of the image and stores it, so your page keeps working even if the original link later breaks. Images can be up to 10 MB.
Set the price
The price lives with the course's other settings, not on the landing page.
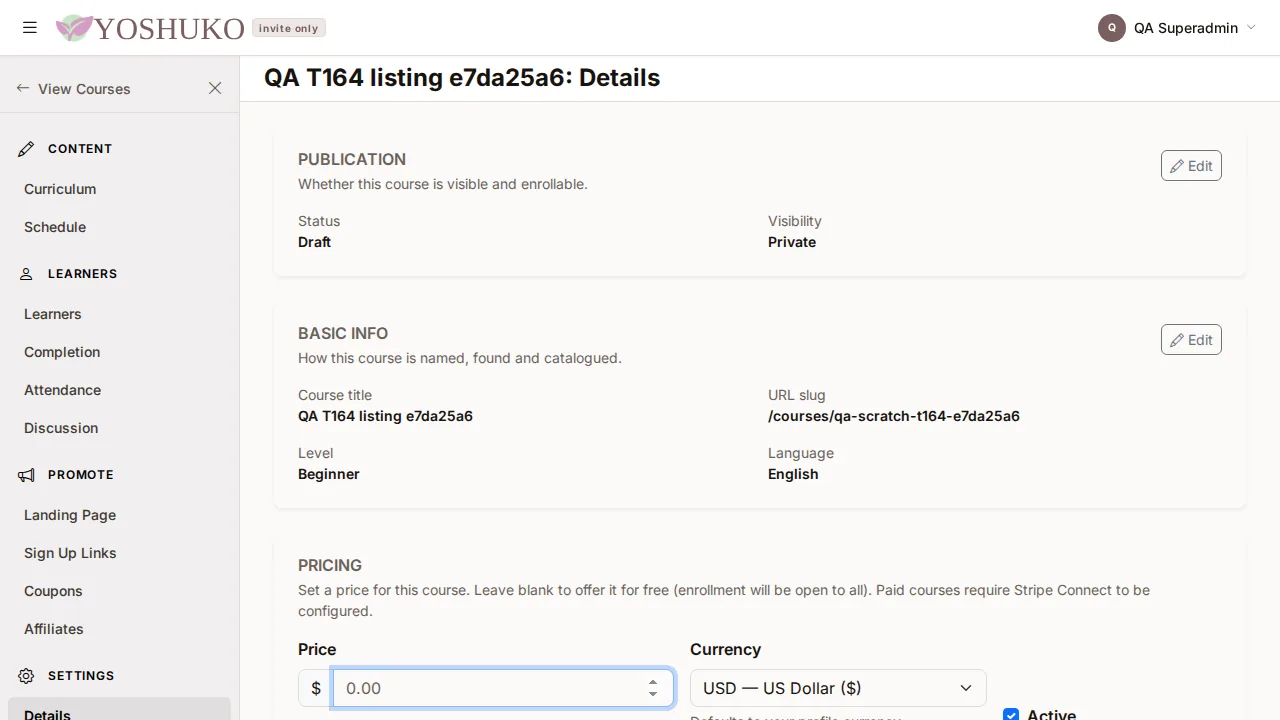
- In the course menu, under Settings, choose Details.
- In the Pricing card, press Edit.
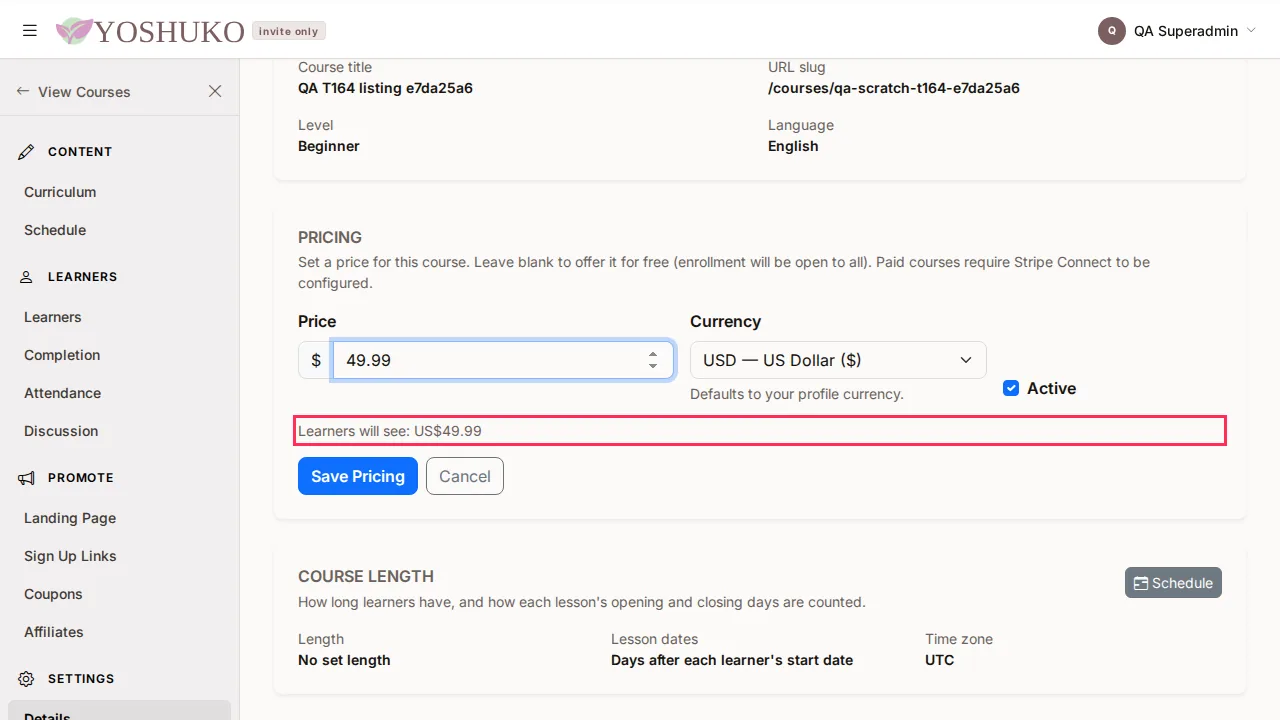
- Enter a Price and choose a Currency (it defaults to your profile currency). Below the form you see what learners will see, for example Learners will see: $49.00.
- Leave Active ticked for the price to apply.
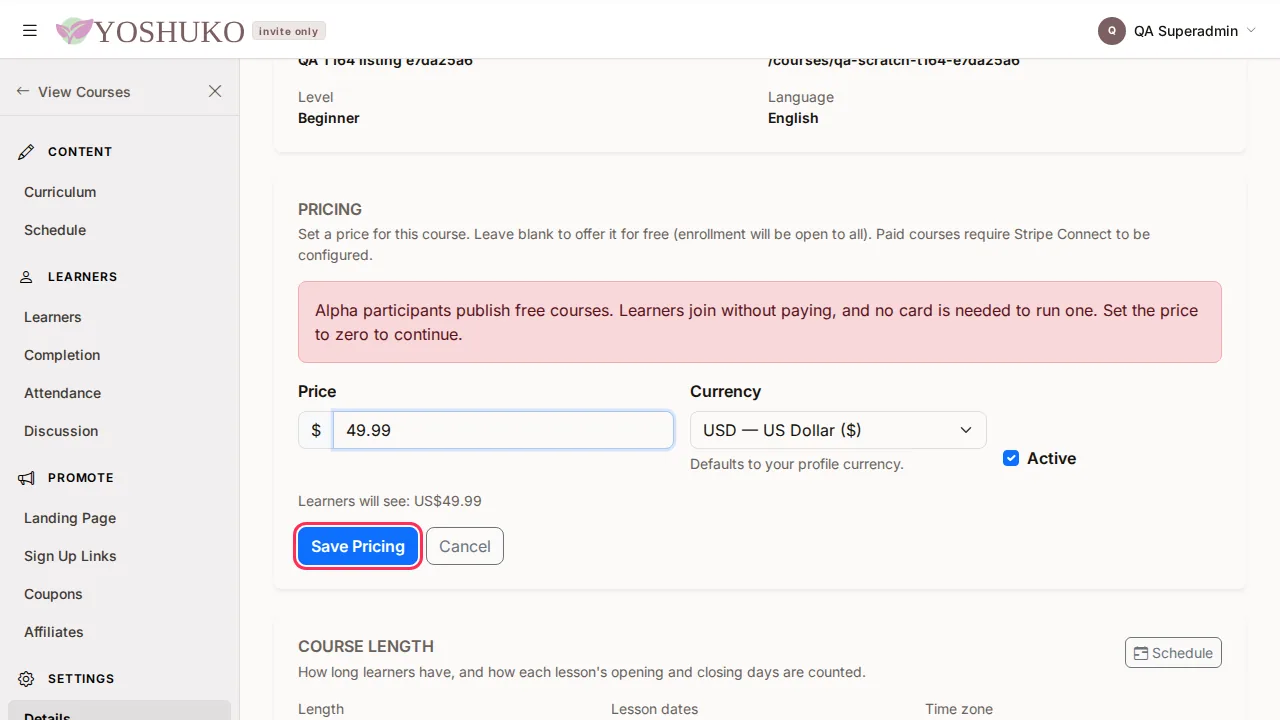
- Press Save Pricing. You see Pricing saved., or a message explaining why it was refused.
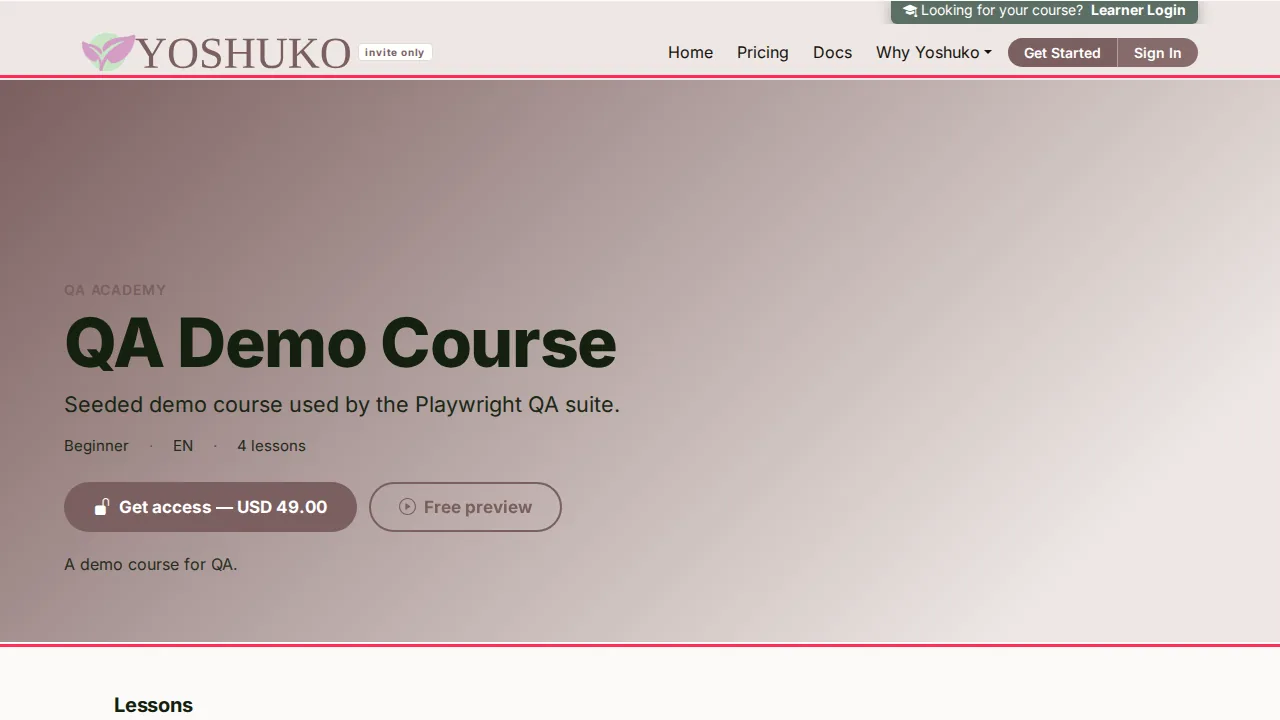
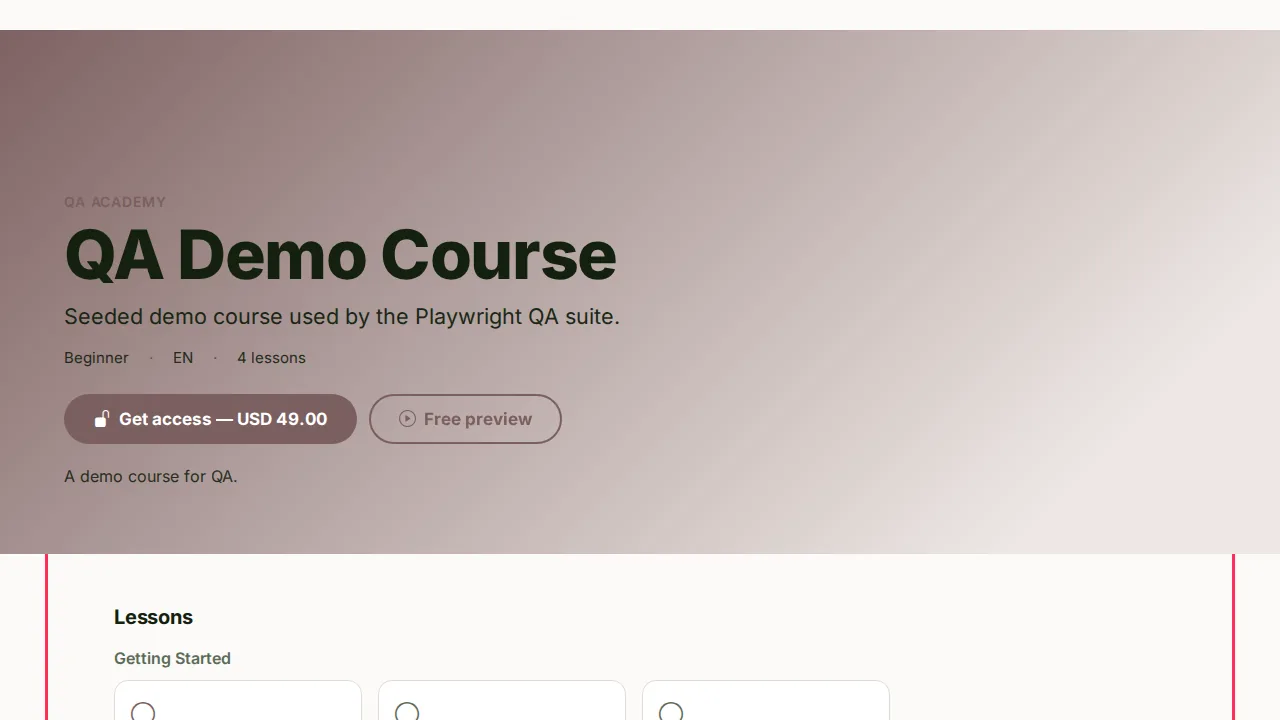
A course with no active price is free: its landing page offers Enrol free. A priced course offers Get access — followed by the currency and amount.
Check what a stranger sees
Open the course's public page (/courses/ followed by your organisation's and the
course's short names). A visitor sees:
- the hero image, title and tagline;
- the level, language, number of lessons and, if set, the estimated length in minutes;
- one main button — Enrol free or Get access — with the price — and Free preview if a published lesson is marked as a free preview;
- if you sell a catalogue subscription, a Subscribe — button for each plan;
- What you'll learn, Lessons (the units and their lessons), and, when there is something to show, About the creator, What learners say and Questions.
When the link is shared, the preview card shows the title, a short summary of the course and the hero image, and points to your own storefront address.
If something goes wrong
| You see | What it means | What to do |
|---|---|---|
| Could not load this course, so the landing page cannot be edited right now. Reload to try again. | The course details did not load. Save Landing Page stays switched off, so an empty form cannot overwrite your real listing. | Reload the page. |
| That link did not return an image., That does not look like an image link., That address could not be found. and similar | The link you pasted could not be used, and nothing was saved. | Check the link opens an image in your browser, or download it and use Upload image. |
| That image is too large (the limit is 10 MB). | The image is over the size limit. | Use a smaller file. |
| Only http and https image links can be imported. | The link is not a web address. | Paste a link that starts with https://. |
| Could not reach the image service. | Generating, uploading or importing could not be completed. | Try again in a moment. |
| Could not reach the assistant. Please try again. | Write with AI could not produce a draft. | Try again, or write the listing yourself. |
| Price amount is required. | You pressed Save Pricing with an empty price. | Enter an amount. |
| Alpha participants publish free courses. Learners join without paying, and no card is needed to run one. Set the price to zero to continue. | Your organisation's plan only allows free courses. | Leave the course free, or see pricing. |