Get an API key
About three minutes. An API key lets an AI agent or a script manage your organisation's courses without your password. You choose exactly what each key may do, and you can revoke it at any time.
Before you start
- You need to be signed in to the creator studio as a member of your organisation.
- Your organisation needs an active paid plan — API access is included on every plan. See pricing. Without one, Create key explains why it is refused.
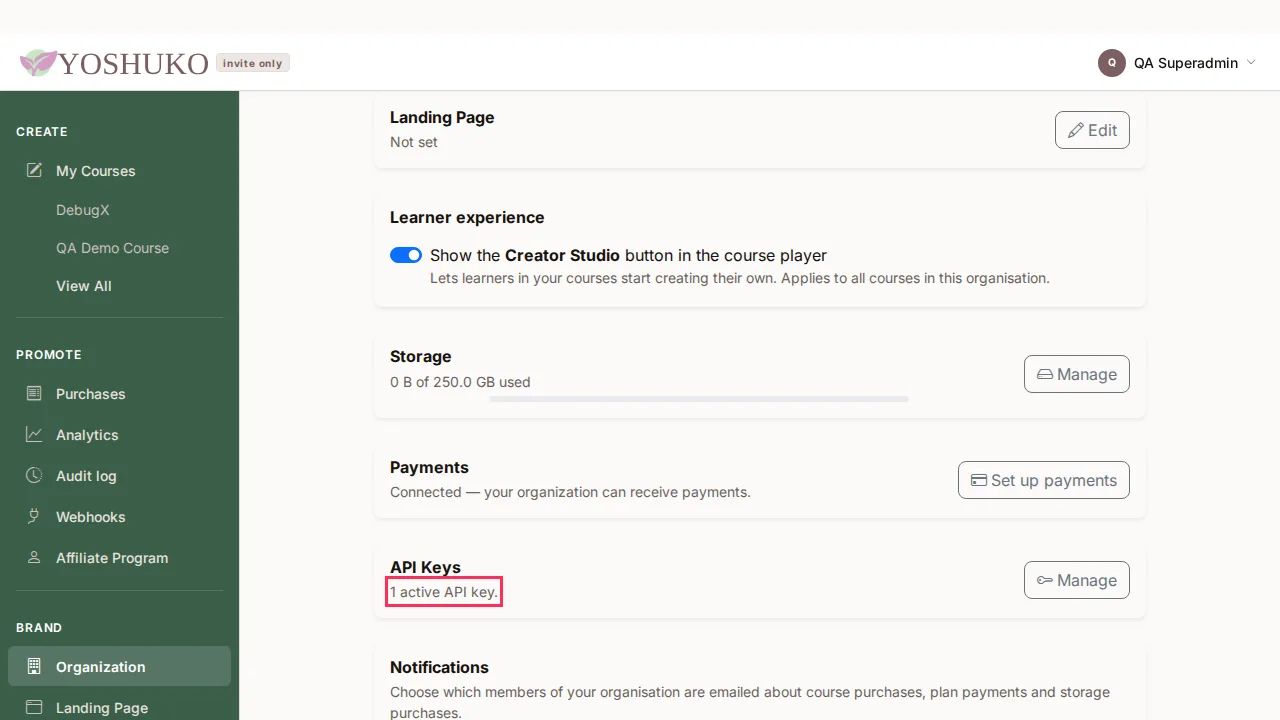
1. Open your organisation's API keys
In the creator studio, choose Organization in the left-hand menu. The API Keys card, near the bottom, shows how many keys are active. Press its Manage button.
2. Create the key
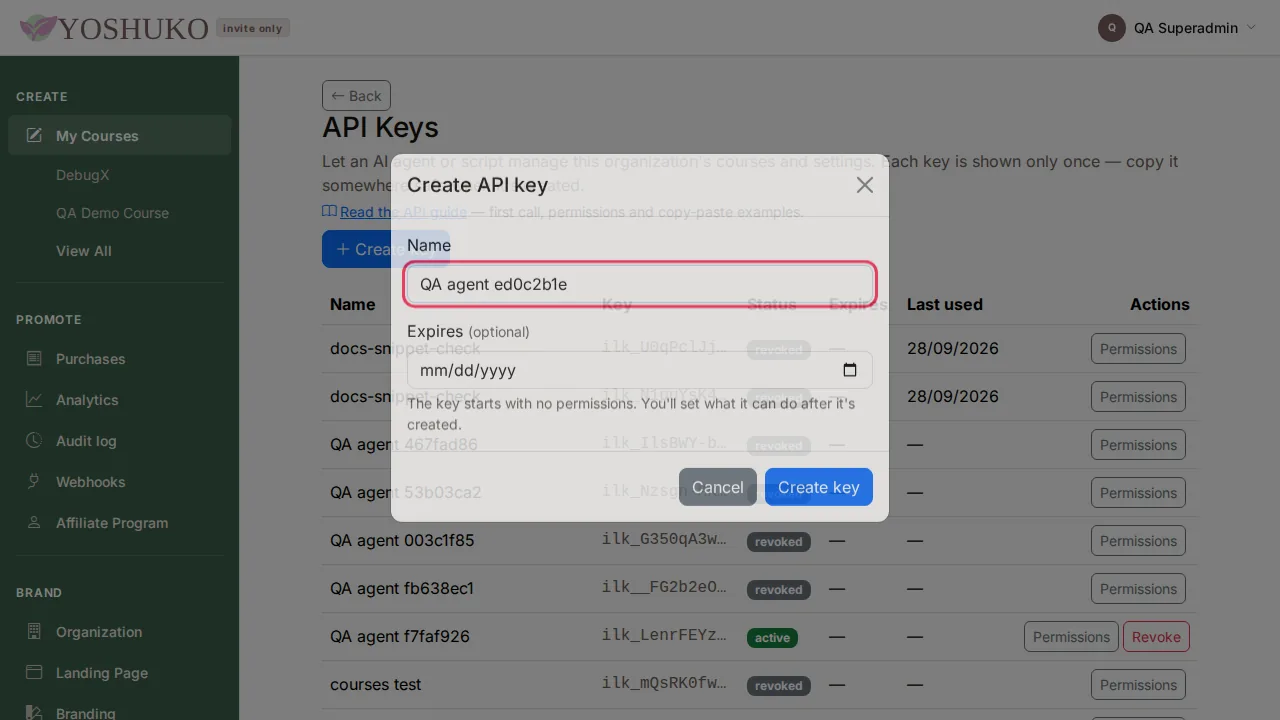
Press Create key, give it a name you will recognise later — for example the name of the agent that will use it — and press Create key again. An expiry date is optional.
3. Copy it now — it is shown only once
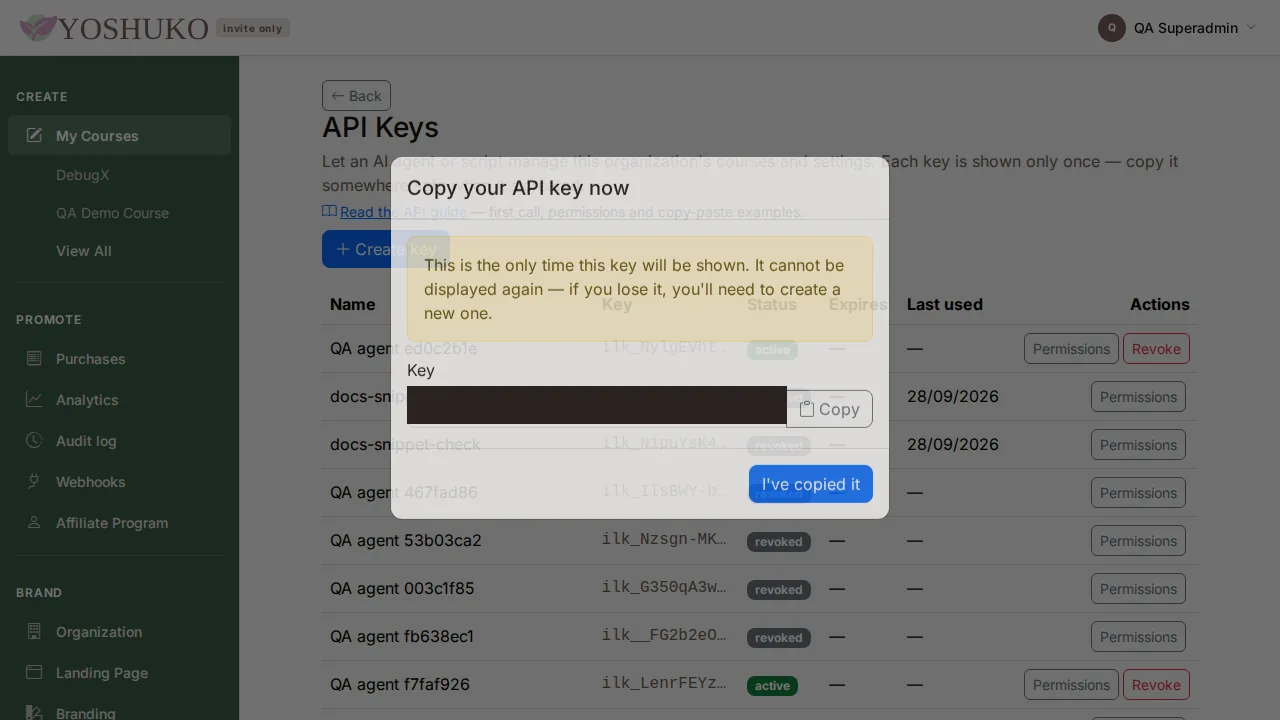
Yoshuko shows the full key exactly once. Press Copy, store it somewhere safe (a password manager, or your agent's secret store), then press I've copied it.
If you lose the key
It cannot be shown again. Revoke it and create a new one — it takes a minute.
4. Choose what the key may do
A new key can do nothing until you say so. Press Permissions on its row, choose No access, View or Edit for each area, and press Save permissions.
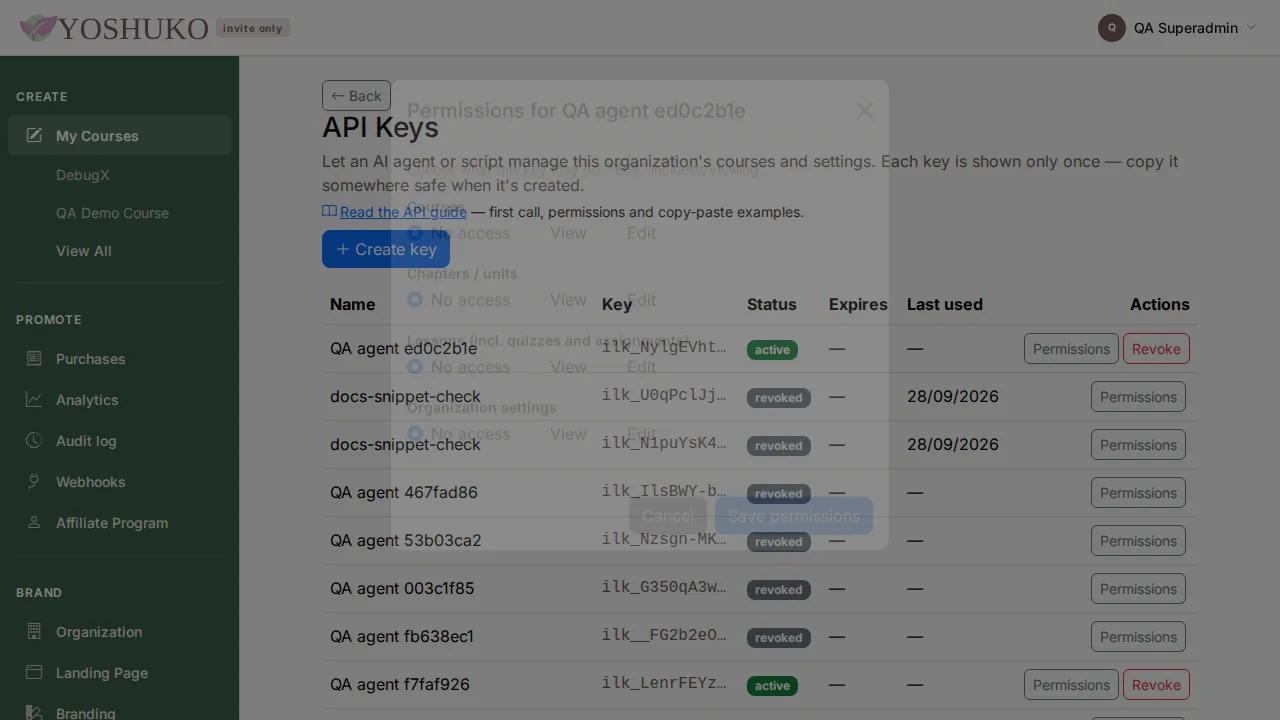
| Area | Lets the key… |
|---|---|
| Courses | list and read courses (View); also create, change and delete them (Edit) |
| Units (API: chapters) | the same, for the chapters inside a course |
| Lessons (incl. quizzes and assignments) | the same, for lessons, quizzes and assignments |
| Organization settings | read (View) or change (Edit) settings such as the default currency |
For an agent that builds courses, set the first three to Edit and leave Organization settings at No access.
5. Check it works
Give the key to your agent, or try it yourself — replace the placeholder with your key:
export YOSHUKO_API_KEY="ilk_…your key…"
curl -sS "https://www-dev.yoshuko.com/api/v1/agent/whoami/" -H "Authorization: Bearer $YOSHUKO_API_KEY"
You should see your organisation's name and the permissions you just chose. Next: your first API call, in more detail.
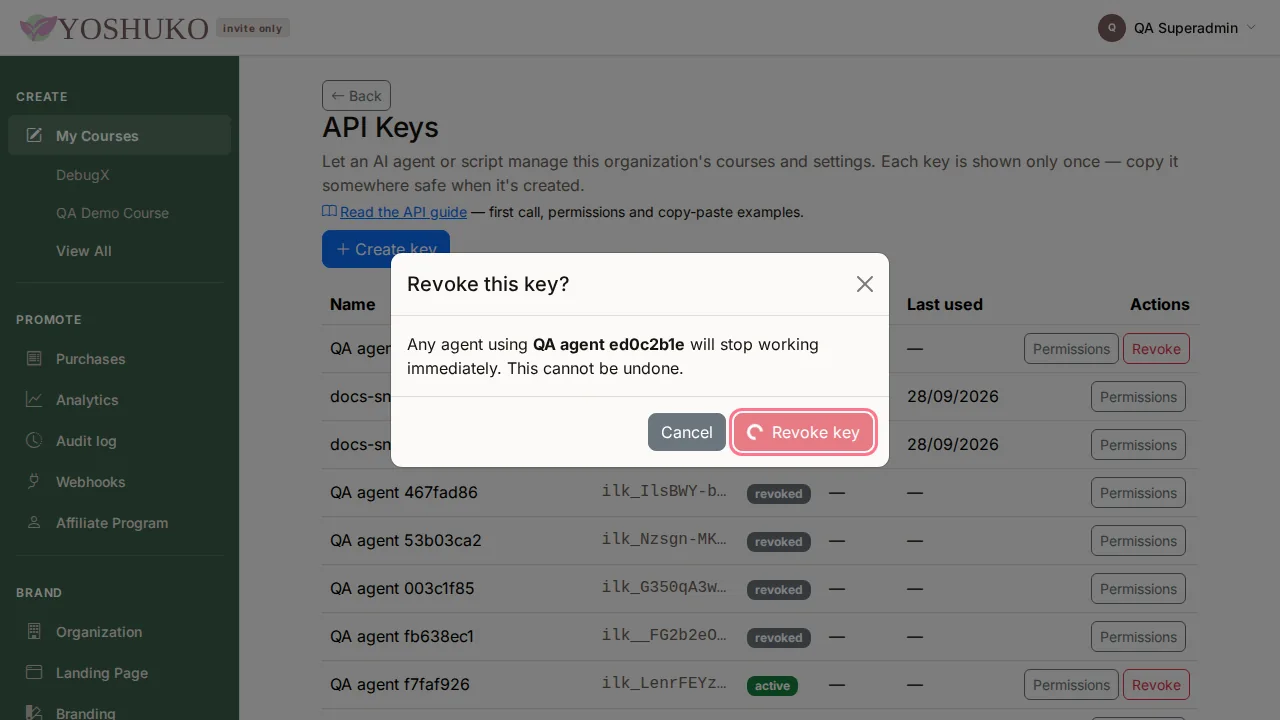
Revoking a key
Press Revoke on the key's row and confirm. The key stops working immediately — the very next request with it is refused.